DoorMaster Tips
DoorMaster Tips : How to Fit Hinges on an Internal Door.
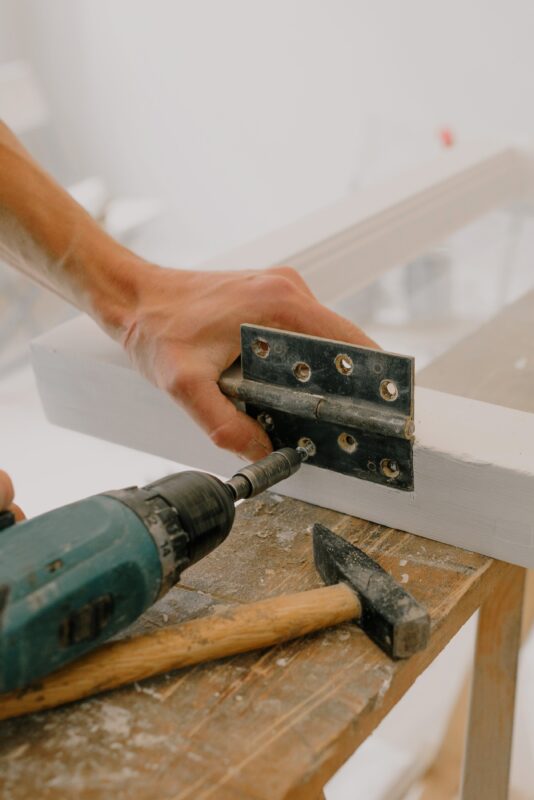
Sometimes you just want to do it yourself! We’re going to be focusing on more and more DoorMaster tips to help you out in the home, so this blog is all about how to fit hinges to an internal door.
This list of instructions is for if you already have a door frame in place, if you need help installing a door frame then you can look at our last DoorMaster blog on how to fit an internal door frame here.
Fitting Hinges
- Lay your door on it’s edge, with the side you’re going to be cutting facing towards you.
- Put the hinge against the very edge of the door then mark this in pencil, move the top edge of the hinge to the pencil mark you’ve just made and mark the bottom of this for the placement of your hinges, do this at the top and bottom of the door.
- Mark out in pencil around the hinge to ensure you have the correct placement. Some doors may be slightly heavier and you may want to place a third hinge in the very centre of the door which you can measure out with a measuring tape.
- Mark out in pencil around the hinge to ensure you have the correct placement. Some doors may be slightly heavier and you may want to place a third hinge in the very centre of the door which you can measure out with a measuring tape.
- Take your scribe and go along the pencil mark to etch a line the entire way down where the hinge will be fitted.
- Do the same along the edge of the face of the door.
- Lastly scribe the lines you’d originally marked out for the edges of your hinge so that you can see exactly where you need to remove the timber to fit in the hinges.
- Once this is done, get a hammer and chisel and chisel out the scribed lines you’ve just made to make it easier to remove.
- You’ll then want to use the chisel and remove the timber you’ll be fitting the hinge into (be careful you don’t go too far into the door, you just want to chisel out enough for your hinge to fit flush to the door)
- Once the space has been chiseled out, even this out until your hinge can fit flush in the gap.
- Use a small drill as a guide and drill out your screw holes.
- Ensure your hinge is lined up straight with the door, then drill in all of your screws through the hinge and into the door.
- Once the hinges are fitted to the door, line up the door within the framework and then expand the hinges until the secondary face of the hinge is sitting flush against the frame. Using your pencil, mark out the hinge holes against the frame so you know where to drill.
- Again using the smaller drill, make your guide hole in the top screw hole of the top and bottom hinge.
- Once you’ve done this for the top hole (only) of each hinge, mark around the hinge so you know the exact space you’ll need to chisel out from the frame.
- Just as you did with the door, you’ll now want to scribe out the frame so that the hinge will sit flush within both the frame and door.
- Now place your door place in place, screw your hinges back into your top screw hole you’d previously made, then screw in the other screws in the hinge to the frame.
- And that’s it! Your door should swing beautifully in and out. Ensure you’ve left enough space when fitting your frame so you have clearance for the latch and to be fitted and used.

For more DoorMaster Tips visit our Blog Page


Id like to thank you for the efforts youve put in writing this blog. I am hoping to check out the same high-grade content by you later on as well. In truth, your creative writing abilities has motivated me to get my own, personal website now 😉
Good post. I learn something totally new and challenging on websites I stumbleupon on a daily basis. It will always be useful to read content from other authors and use something from their websites.
Thanks for your Feedback, kindly refer our website to other internet users 😊